How It Works ⚙️
This workflow is a comprehensive, AI-powered system that acts as a virtual patient assistant for clinics. It automates the entire patient journey from appointment confirmation to post-procedure follow-up.
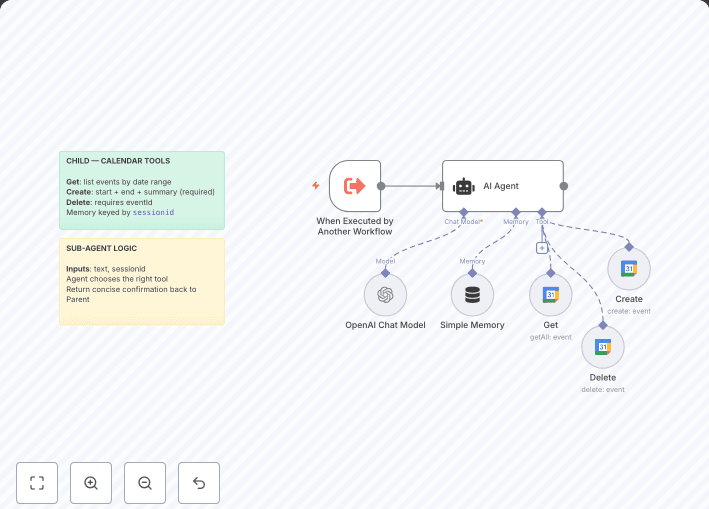
- Appointment Trigger : The workflow starts when a new event is created in your Google Calendar for a patient appointment.
- AI-Powered Education : The new appointment is sent to an OpenAI (GPT-4) node, which acts as a virtual clinic assistant. It instantly generates a personalized pre-procedure guide based on the appointment's details.
- Automated Communication : The workflow then uses Twilio to send this AI-generated guide directly to the patient via SMS or WhatsApp, ensuring they are well-prepared for their appointment.
- Post-Procedure Follow-up : After the appointment ends, a
Wait node pauses the workflow for a set period. It then sends a personalized follow-up message—also generated by OpenAI —to the patient, encouraging them to provide feedback.
- Staff Notification : A Slack notification is sent to the team once a follow-up message has been dispatched, keeping everyone informed and ready to act on incoming feedback.
How to Set Up 🛠️
- Import the Workflow : Copy the provided workflow JSON and import it into your n8n instance.
- Configure Credentials :
- Google Calendar : Add your OAuth2 credential.
- OpenAI : Add your API Key.
- Twilio : Add your API credentials.
- Slack : Add your Bot Token credential.
- Customize Workflow Nodes :
- Node 1 (
Google Calendar Trigger): Select your clinic's booking calendar.
- Node 2 & 5 (
OpenAI): You can customize the prompts to better match your clinic's tone and specific procedures.
- Node 3 & 6 (
Twilio): Replace YOUR_TWILIO_NUMBER with your Twilio number and ensure you can extract the patient's phone number from your calendar events (e.g., from the event description).
- Node 7 (
Slack): Replace YOUR_SLACK_CHANNEL_ID with the ID of your team's feedback or operations channel.
- Save & Activate: Once all settings and credentials are configured, save the workflow and click the "Inactive" toggle in the top-right corner to make it live.