This template enables natural-language-driven automation using Bright Data MCP tools. It extracts all available tools from MCP, processes the user’s query through an AI agent, then dynamically selects and executes the appropriate tool.
Traditional automation often requires users to understand APIs, interfaces, or scripts to perform backend tasks. The Bright Data MCP integration solves this by allowing natural language interaction, intelligently classifying user intent, and managing context-aware execution of complex operations—ideal for data extraction, customer support, and workflow orchestration.
Before deploying this template, make sure you have:
In your Bright Data account, obtain the following information:
 * API token
 * Web Unlocker zone name (optional)
 * Browser Zone name (optional)
2. #### Host SSE server from STDIO command
The methods below will allow you to receive SSE (Server-Sent Events) from Bright Data MCP via a local Supergateway or Smithery
Method 1: Run Supergateway in a separate web service (Recommended)
This method will work for both cloud version and self-hosted N8N.
Signup to any cloud services of your choice (DigitalOcean, Heroku, Hetzner, Render, etc.).
 * Create a new web service.
 * Choose Node.js as runtime environment and setup a custom server without repository.
 * In your server’s settings to define environment variables or .env file, add:
API_TOKEN=your_brightdata_api_token WEB_UNLOCKER_ZONE=optional_zone_name BROWSER_ZONE=optional_browser_zone_name
* Paste the following text as a start command: npx -y supergateway --stdio "npx -y @brightdata/mcp" --port 8000 --baseUrl http://localhost:8000 --ssePath /sse --messagePath /message
* Deploy it and copy the web server URL, then append /sse into it.
* Your SSE server should now be accessible at: https://your_server_url/sse
 * Create a new web service.
 * Choose Docker as the runtime environment.
 * Set up your Docker environment by pulling the necessary images or creating a custom Dockerfile.
 * In your server’s settings to define environment variables or .env file, add:
API_TOKEN=your_brightdata_api_token WEB_UNLOCKER_ZONE=optional_zone_name BROWSER_AUTH=optional_browser_auth
* Use the following Docker command to run Supergateway: docker run -it --rm -p 8000:8000 supercorp/supergateway \ --stdio "npx -y @brightdata/mcp /" \ --port 8000
* Deploy it and copy the web server URL, then append /sse into it.
* Your SSE server should now be accessible at: https://your_server_url/sse
For more installation guides, please refer to https://github.com/supercorp-ai/supergateway.git.
Method 2: Run Supergateway in the same web service as the N8N instance
This method will only work for self-hosted N8N.
In your server's settings to define environment variables or .env file, add:
    API_TOKEN=your_brightdata_api_token
WEB_UNLOCKER_ZONE=optional_zone_name
BROWSER_ZONE=optional_browser_zone_name
npx -y supergateway --stdio "npx -y @brightdata/mcp" --port 8000 --baseUrl http://localhost:8000 --ssePath /sse --messagePath /message
Use the command above to execute it through the cloud shell or set it as a pre-deploy command.
Your SSE server should now be accessible at:
http://localhost:8000/sse
For more installation guides, please refer to https://github.com/supercorp-ai/supergateway.git.
Method 3: Configure viaSmithery.ai (Easiest)
If you don't want additional setup and want to test it right away, follow these instructions:
Visit https://smithery.ai/server/@luminati-io/brightdata-mcp/tools to:
 * Signup (if you are new to Smithery)
 * Create an API key
 * Define environment variables via a profile
 * Retrieve your SSE server HTTP URL
3. Import the Workflow
 * Open N8N.
 * Import the JSON workflow file included with this template.
 * Update any nodes referencing external services (e.g., OpenRouter, Telegram).
4. Setup Telegram Integration
 * If you haven't setup a bot in Telegram, below is the instruction how to create one using BotFather:

   * Search for **@BotFather** in Telegram and start a conversation with it.
   * Send the command `/newbot` to create a new bot. You'll be prompted to enter a name and a unique username for your bot.
   * BotFather will provide you with an access token, which you'll need to use to interact with the bot's API.
 * Edit the **HTTP Request** node in the workflow.

 * Configure the URL as follows:

            https://api.telegram.org/bot+your_telegram_bot_token+/setWebhook?url=+your_webhook_url


 * Replace `+your_telegram_bot_token+` with your actual Telegram bot token.

 * Replace `+your_webhook_url+` with the URL from the **Webhook Trigger** node in the workflow.

 * This will set up Telegram to forward messages to your n8n agent.
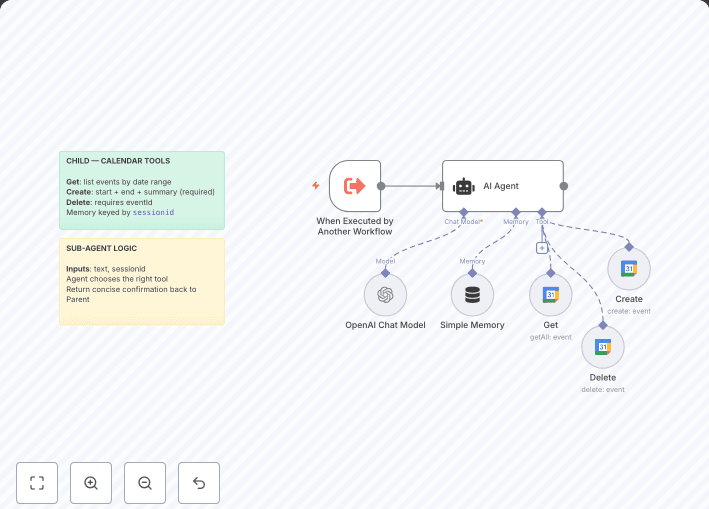
🧠 Optional memory buffers and memory manager nodes keep the interaction context-aware.
This template equips you with a powerful no-code/low-code AI agent that translates conversation into real-world action. Using Bright Data’s MCP tools through natural language, it enables teams to automate and scale data-driven tasks effortlessly.